Glassware Asset Pack
Professional Photorealistic Glassware
DOCUMENTATION

Installing Blender Addon
-
Download the Addon:
Download the addon file (e.g., .zip or .blend format) and save it to a safe location on your computer, preferably with your other Blender addons for easy access.Open Blender Preferences:
Launch Blender.
Go to the Edit menu in the top-left corner and select Preferences.
In the Preferences window, click on the File Paths tab.Add the Asset Library:
Under the Asset Libraries section, click the + button labeled "Add Asset Library".Locate the Glassware Asset Pack:
A file browser window will appear. Navigate to the folder where you saved the Glassware Asset Pack.
Select the folder containing the asset pack and click Accept.Complete Installation:
The asset library should now be added and available for use in Blender.
Save your preferences!
Close the Preferences window, and the new assets will be accessible through the Asset Browser in your Blender project.You're all set!
You can now start using the Glassware assets within Blender.
Asset Browser:
-
Open the Asset Browser
In the top menu, go to Edit → Preferences → Asset Libraries, and make sure the Glassware Asset Pack is added to your asset library list.Select the Glassware Asset Pack
In the Asset Browser, find the dropdown at the top and select the Glassware Asset Pack from the list. This will display all available glassware assets within the browser.Drag a Glass Asset Into the Viewport
Browse through the available assets and choose a glass. Click and drag the glass asset directly into the Viewport to add it to your scene.Disable ‘Instance’ for Individual Parts
Look to the Info Panel at the bottom-left of the screen. Uncheck the ‘Instance’ box to open the asset into its individual components (such as the Glass, Fluid, etc.). This allows you to edit and display each part separately depending on your scene requirements.Position the Asset in Your Scene
Now that you have access to the individual parts, select the 'Empty' object and use it to position and place the entire asset within your scene.Access Asset Collections in the Outliner
Within the Outliner panel you’ll find the Collection containing the Empty and all of the other objects making up that asset. You can use the Outliner to manage and organize the assets in your scene.That's it!
You’ve now added a glass asset in your scene using the Glassware Asset Pack.
Adding Bubbles
-
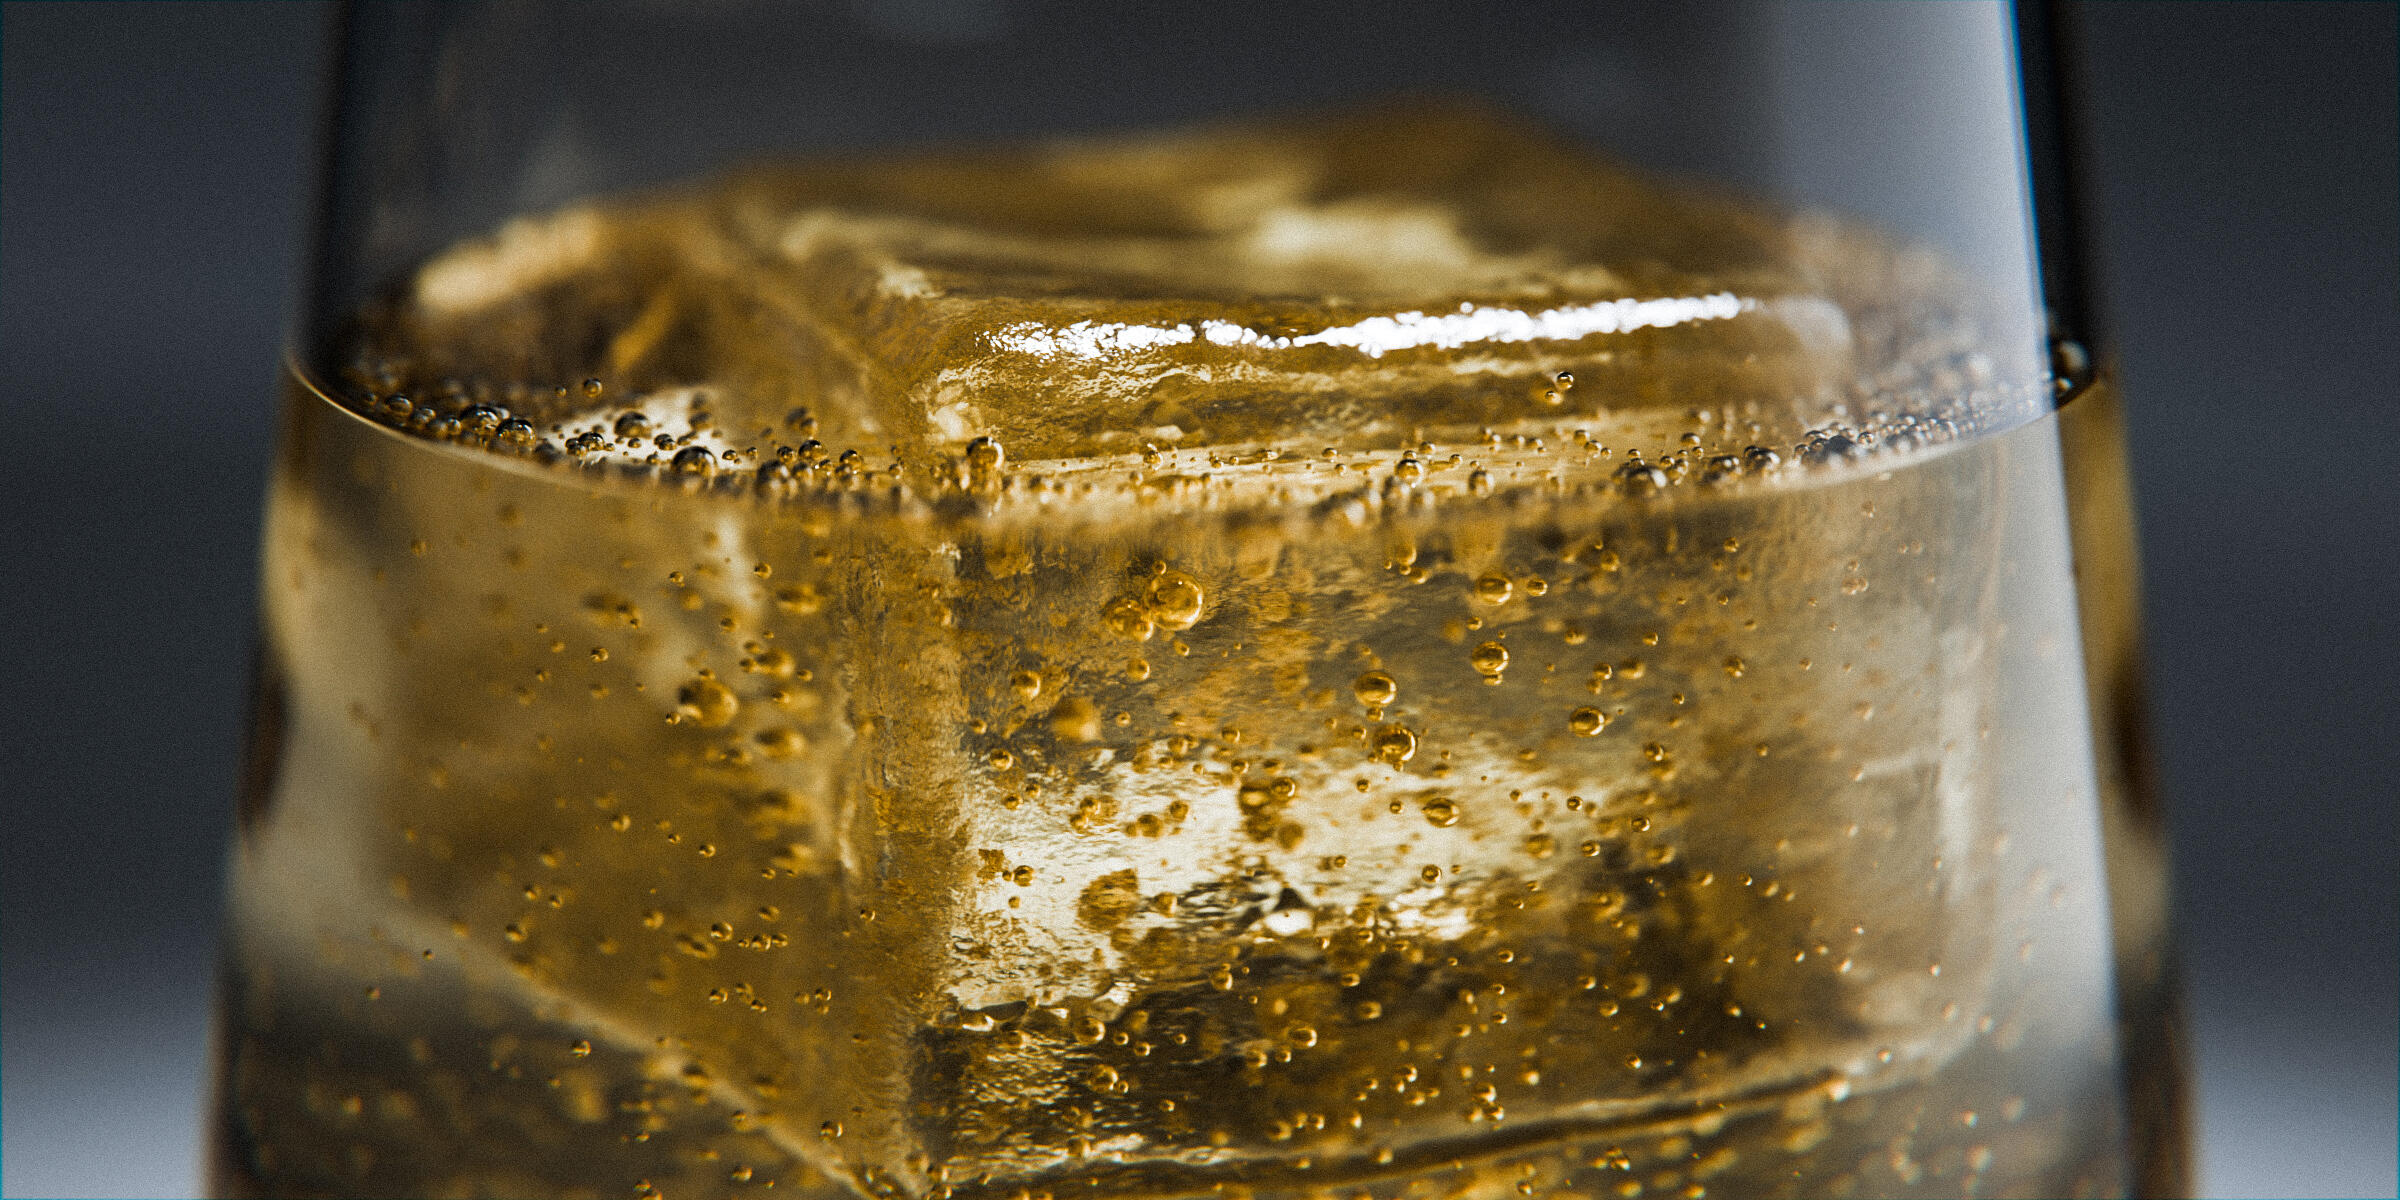
Adding and Customising BubblesIn your scene, select the fluid object that is parented to the glass asset.In the Modifiers Panel find the pre loaded GeoNodes modifier and switch on the 'Display in Viewport' and 'Display in Render' icons.Using the provided attributes adjust the bubbles within the fluid to your desired requirement.By following these steps, you can easily add and customise the bubbles on each of your Glassware Assets.